
This guide walks you through setting up your Mac for your initial Go programming project. It covers everything from configuring your system and installing essential software to setting up the Go language environment.
macOS is a great platform for developers thanks to its speed, security, and reliability. There are plenty of options for IDEs, code editors, and virtualization tools available for Mac users.
While many beginners start with Python, macOS also provides a fantastic environment to explore other languages like Go.
Here, you’ll learn how to get your Mac ready to develop with Go by configuring your system, installing necessary software, and more.
Let’s Go!
Go, or Golang, is an open-source language designed to tackle common programming hurdles such as lengthy build times, dependency complexities, and large codebases.
Key characteristics of Go include:
- Straightforward syntax: Inspired by C, it’s easy to learn and write.
- High performance: Being a compiled language, Go runs efficiently.
- Automatic memory management: It includes built-in garbage collection.
- Cross-platform: Compatible with macOS, Linux, and Windows.
Go is popular for a variety of uses like:
- Backend web services and APIs.
- Cloud-native applications.
- Distributed systems.
- DevOps automation scripts.
Setting Up macOS and Go
I prefer to keep my main system tidy, so I use virtual machines to try out new languages. On my MacBook Pro, I use Parallels with stock macOS VM images.
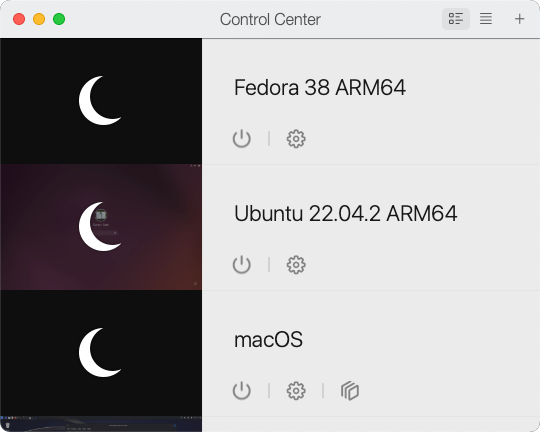
Figure 1: Parallels interface showing a macOS virtual machine.
Once your VM is running, customize it to your liking. Consider these tweaks:
- Clear unnecessary apps from the Dock to reduce clutter.
- Use multiple virtual desktops (Spaces) for better workflow.
- Add a motivating wallpaper, maybe something Go-themed.
- Adjust keyboard and trackpad settings.
- Set your preferred screen resolution.
- Install browsers you like if Safari isn’t your choice.
- Connect any cloud or external storage you need.
- Make sure the macOS is fully updated.
Personalizing your VM environment this way can greatly boost productivity.
Install Homebrew Package Manager
After your OS setup, installing Homebrew is highly recommended. Package managers simplify software installation and updates, especially for apps not in the Mac App Store.
To install Homebrew, open Terminal and run:
/bin/bash -c "$(curl -fsSL https://raw.githubusercontent.com/Homebrew/install/HEAD/install.sh)"
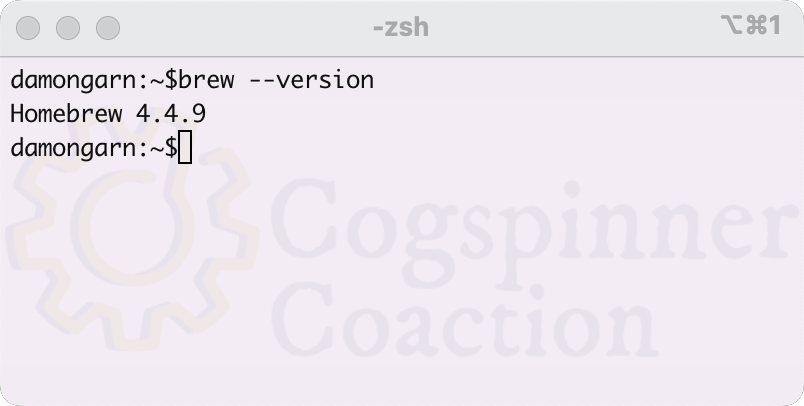
Figure 2: Confirm Homebrew installation by running brew --version.
Homebrew will make installing Go and other tools much easier.
Upgrade Your Terminal
Consider switching to a more powerful terminal like iTerm2. You can enhance it further with frameworks like Oh-My-Zsh for added features. Just be aware that customizing terminals can lead to many tweaks and plugins.
Try basic customizations such as split panes, color themes, and font sizes to improve your workflow.
Install Go Using Homebrew
To install Go via Homebrew, use this command in Terminal:
brew install go
After installation, verify the version with:
go version
If you prefer not to use Homebrew, download the official Go installer from the Go website. Run the .pkg installer, then set your environment variables as follows:
export GOROOT=/usr/local/go
export GOPATH=$HOME/go
export PATH=$GOPATH/bin:$GOROOT/bin:$PATH
Apply changes with:
source ~/.zshrc
Check the installation by running go version.
Alternatively, you can download and install Go entirely through the command line with:
curl -o golang.pkg https://dl.google.com/go/go1.21.3.darwin-amd64.pkg
sudo open golang.pkg
go version
This approach can be scripted for automated setups. You can also build Go from its source code since it’s open source.
Install Git
Git is essential for version control in modern development. To install Git, you can use Homebrew:
brew install git
Verify with:
git --version
If you have Xcode installed, you can get Git by running:
xcode-select --install
Or, if you use GitHub, installing GitHub Desktop also includes Git.
Choose Your IDE
A good IDE makes coding smoother with features like autocomplete, debugging, and testing. For Go, there are several options on macOS:
- GoLand by JetBrains: A professional, feature-rich IDE dedicated to Go. It supports code completion, refactoring, debugging, and integrates with Docker, Kubernetes, and Git. It’s paid but excellent for serious developers.
- LiteIDE: A free, lightweight open-source Go IDE with syntax highlighting, code formatting, debugging, and markdown support. Ideal for simple projects or minimalist setups.
- IntelliJ IDEA by JetBrains: A versatile IDE supporting multiple languages, including Go through a plugin. Good for developers working across languages. The Community Edition is free but limited.
Text Editors for Quick Edits
Sometimes you just need a lightweight editor:
- Vim/Neovim: Terminal-based editors known for speed and customization. With plugins, they can serve as powerful Go editors. They require some learning but are great for users comfortable with terminal workflows.
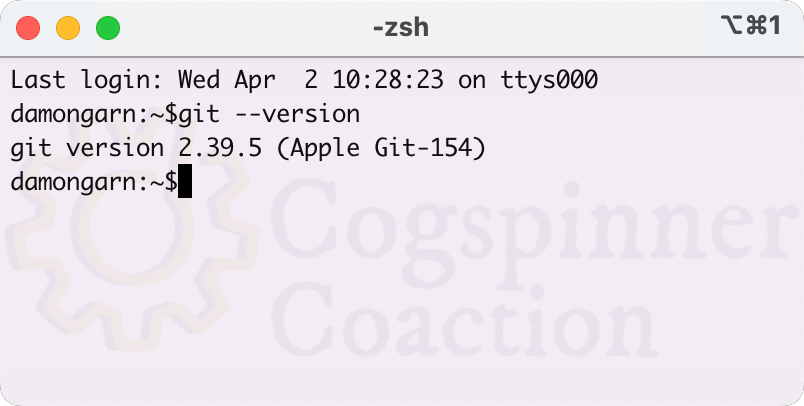
Figure 4: Basic Vim setup ready for Go programming.
- Visual Studio Code: A widely-used, lightweight, cross-platform editor with many extensions. The Go extension offers syntax highlighting, debugging, and Git support. It’s a top choice for both beginners and advanced users.
Microsoft Visual Studio Code
Visual Studio Code is a widely used tool among developers today. It offers a lightweight and open-source environment that works across different platforms. Its high level of customization and support for many programming languages make it very popular.
The official VS Code extension for Go is maintained by the Go development team. There are numerous plugins and extensions available to tailor the environment to your needs. Features include syntax highlighting, testing, debugging, and built-in Git support for version control. However, like with many languages, setting up VS Code for Go requires installing additional extensions since it doesn’t come with advanced Go support out of the box.
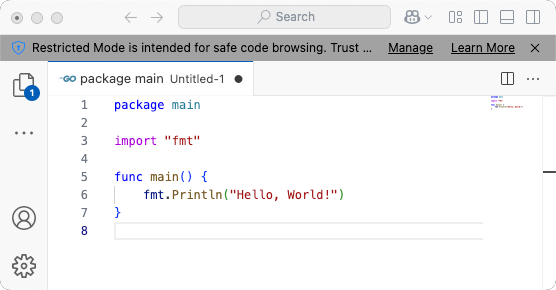
Figure 5: Use VS Code for Go programming.
VS Code is a solid option for developers at any skill level who want a lightweight, adaptable IDE that supports multiple languages. Chances are, many developers already have it installed.
Wrap Up
Go is an excellent choice for beginners as well as seasoned programmers looking to broaden their skill set. It’s especially useful for cloud applications, server-side development, automation, and distributed systems.
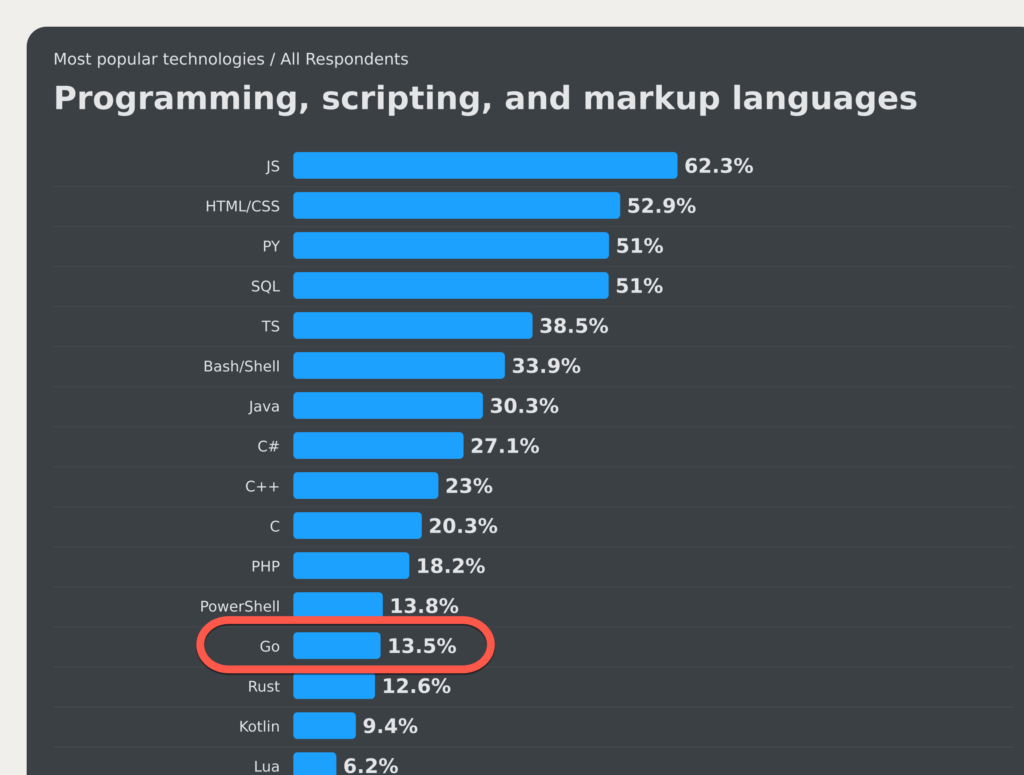
Figure 6: Go ranks among the popular programming languages in the 2024 Stack Overflow Developer Survey.
Installing Go and its tools on a Mac is simple, and if you’ve worked with Swift, Python, or other languages, much of the process will feel familiar. While Apple’s Xcode offers minimal support for Go, it’s not ideal for Go development, so using a Go-focused IDE like VS Code is recommended.